A vault deposit puts your ETH or USDC to work through the Mix-Yield Token (MYT). From there you can borrow alAssets against your deposit and let vault yield pay down the debt over time.
- Stop after the deposit – keep earning passive yield, no management required.
- Continue to the borrow step – mint alAssets and access self-repaying loans.
- Already have an MYT deposit? – Use the dedicated Borrow tab on the vault page to mint alAssets against it without depositing more.
If you only want MYT yield without borrowing, visit the Mixed Yield tutorial →
Prerequisites
- Connect your wallet and switch to the chain that holds the assets you plan to deposit.
- Confirm you have ETH for gas on that chain.
Step 1 – Open the Vaults page
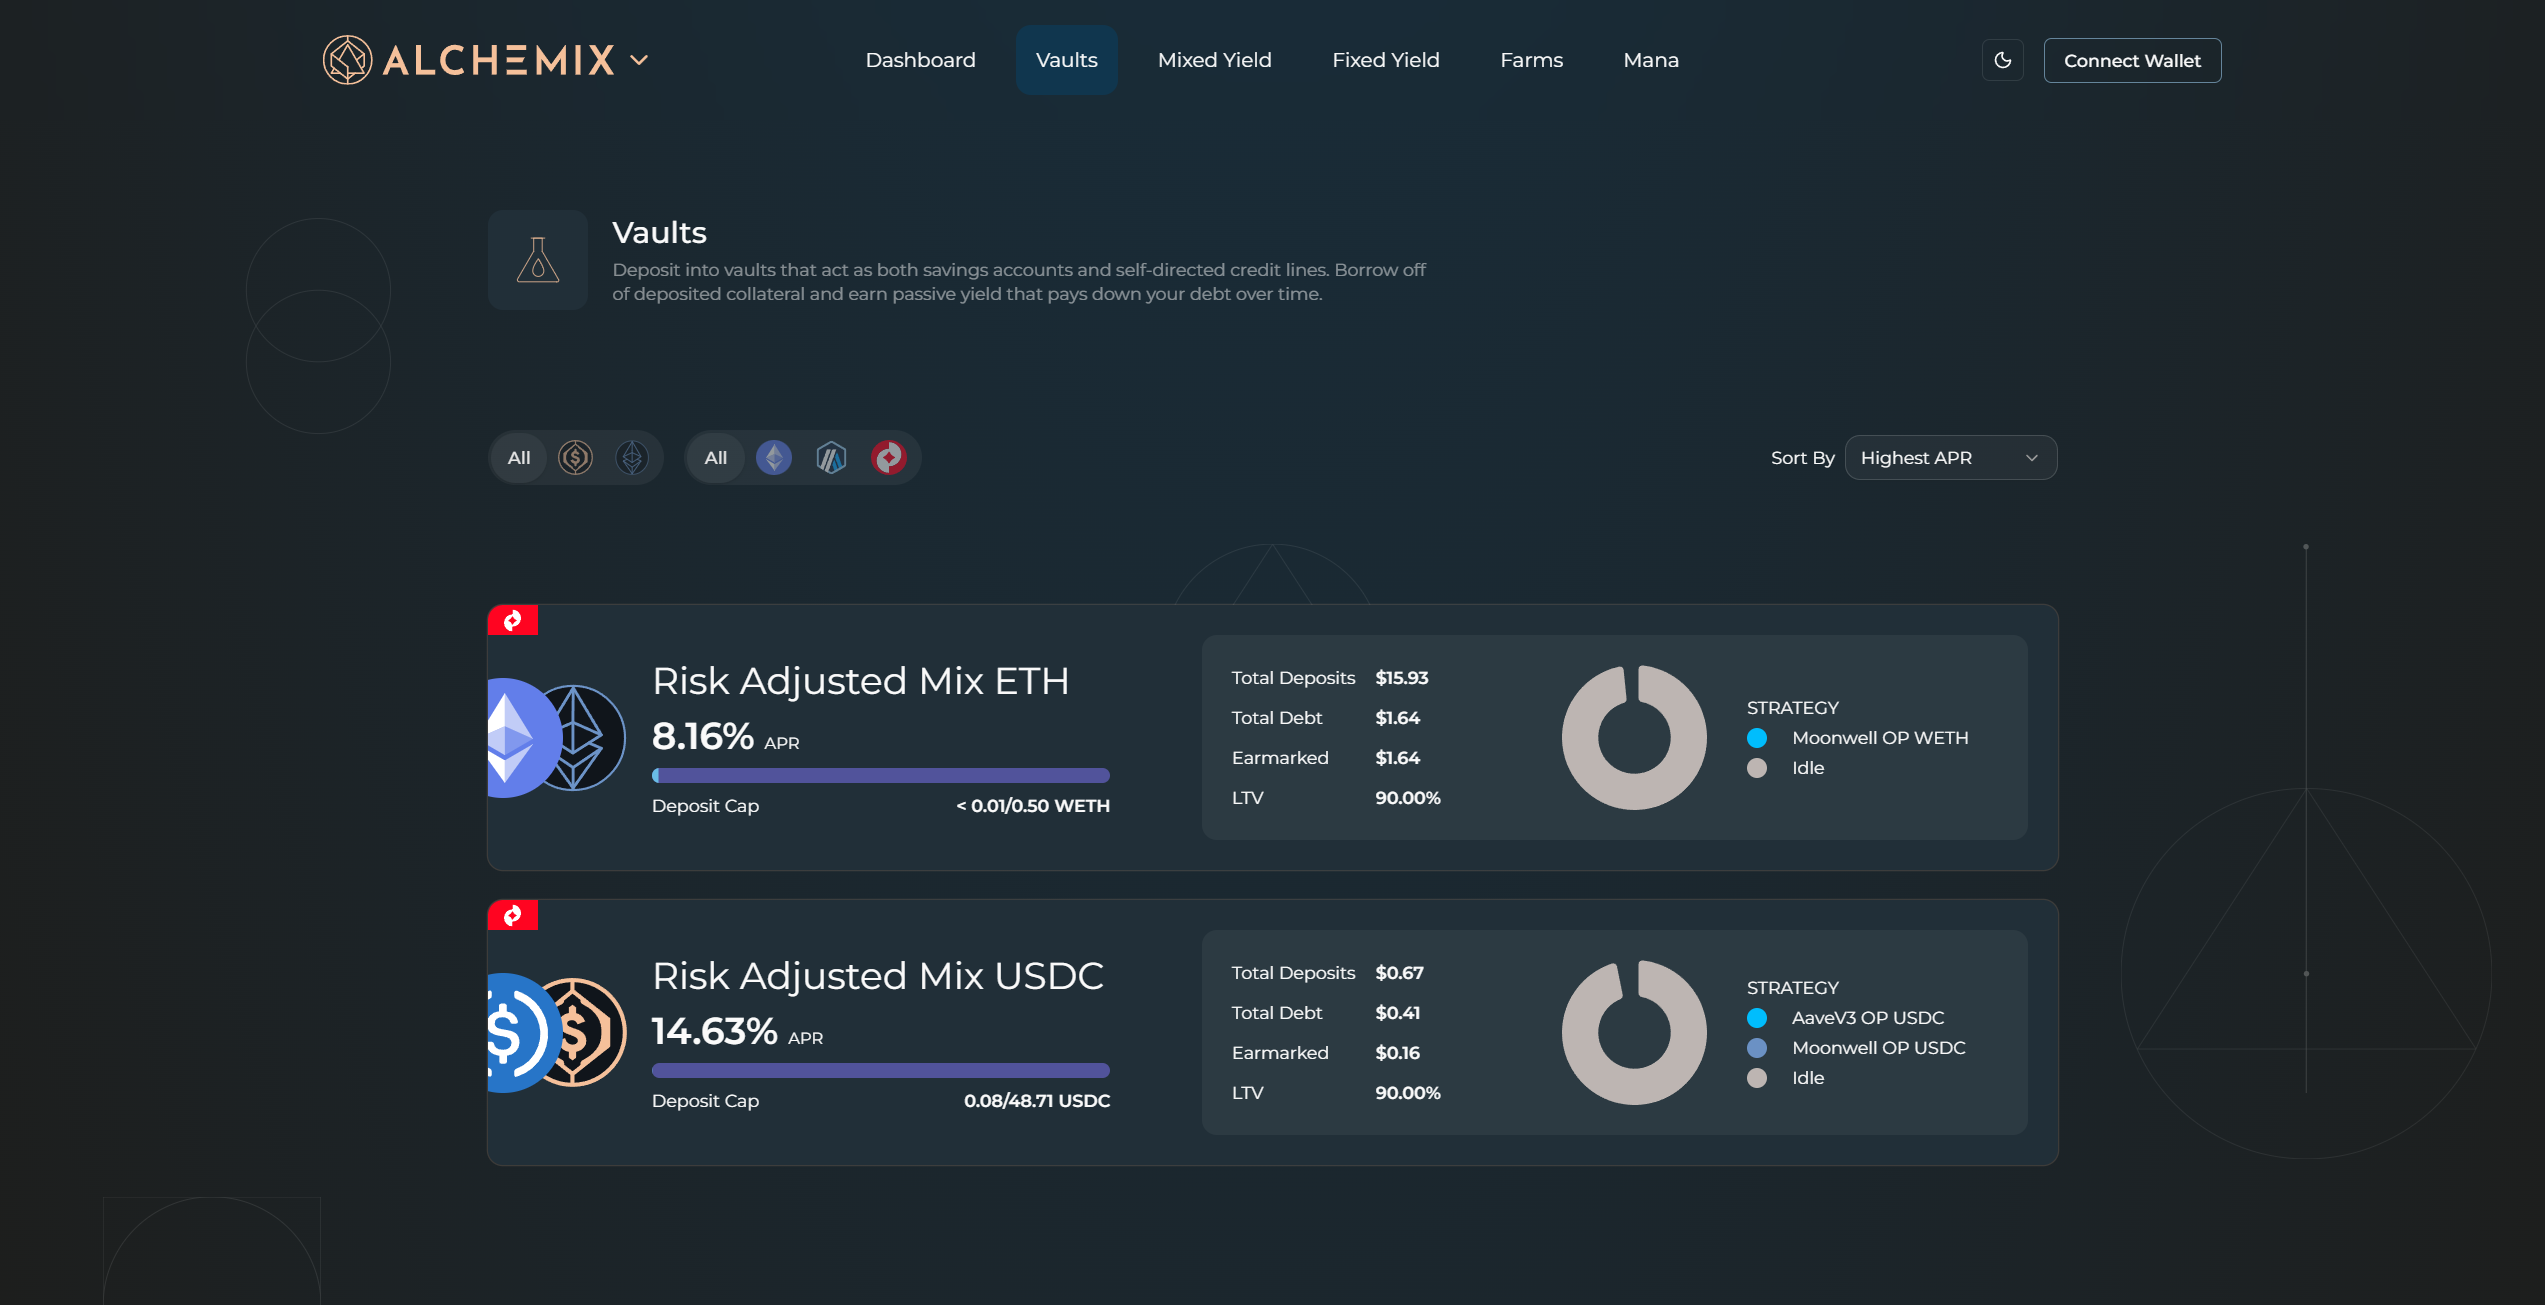
Click Vaults in the top navigation.
Step 2 – Find the vault
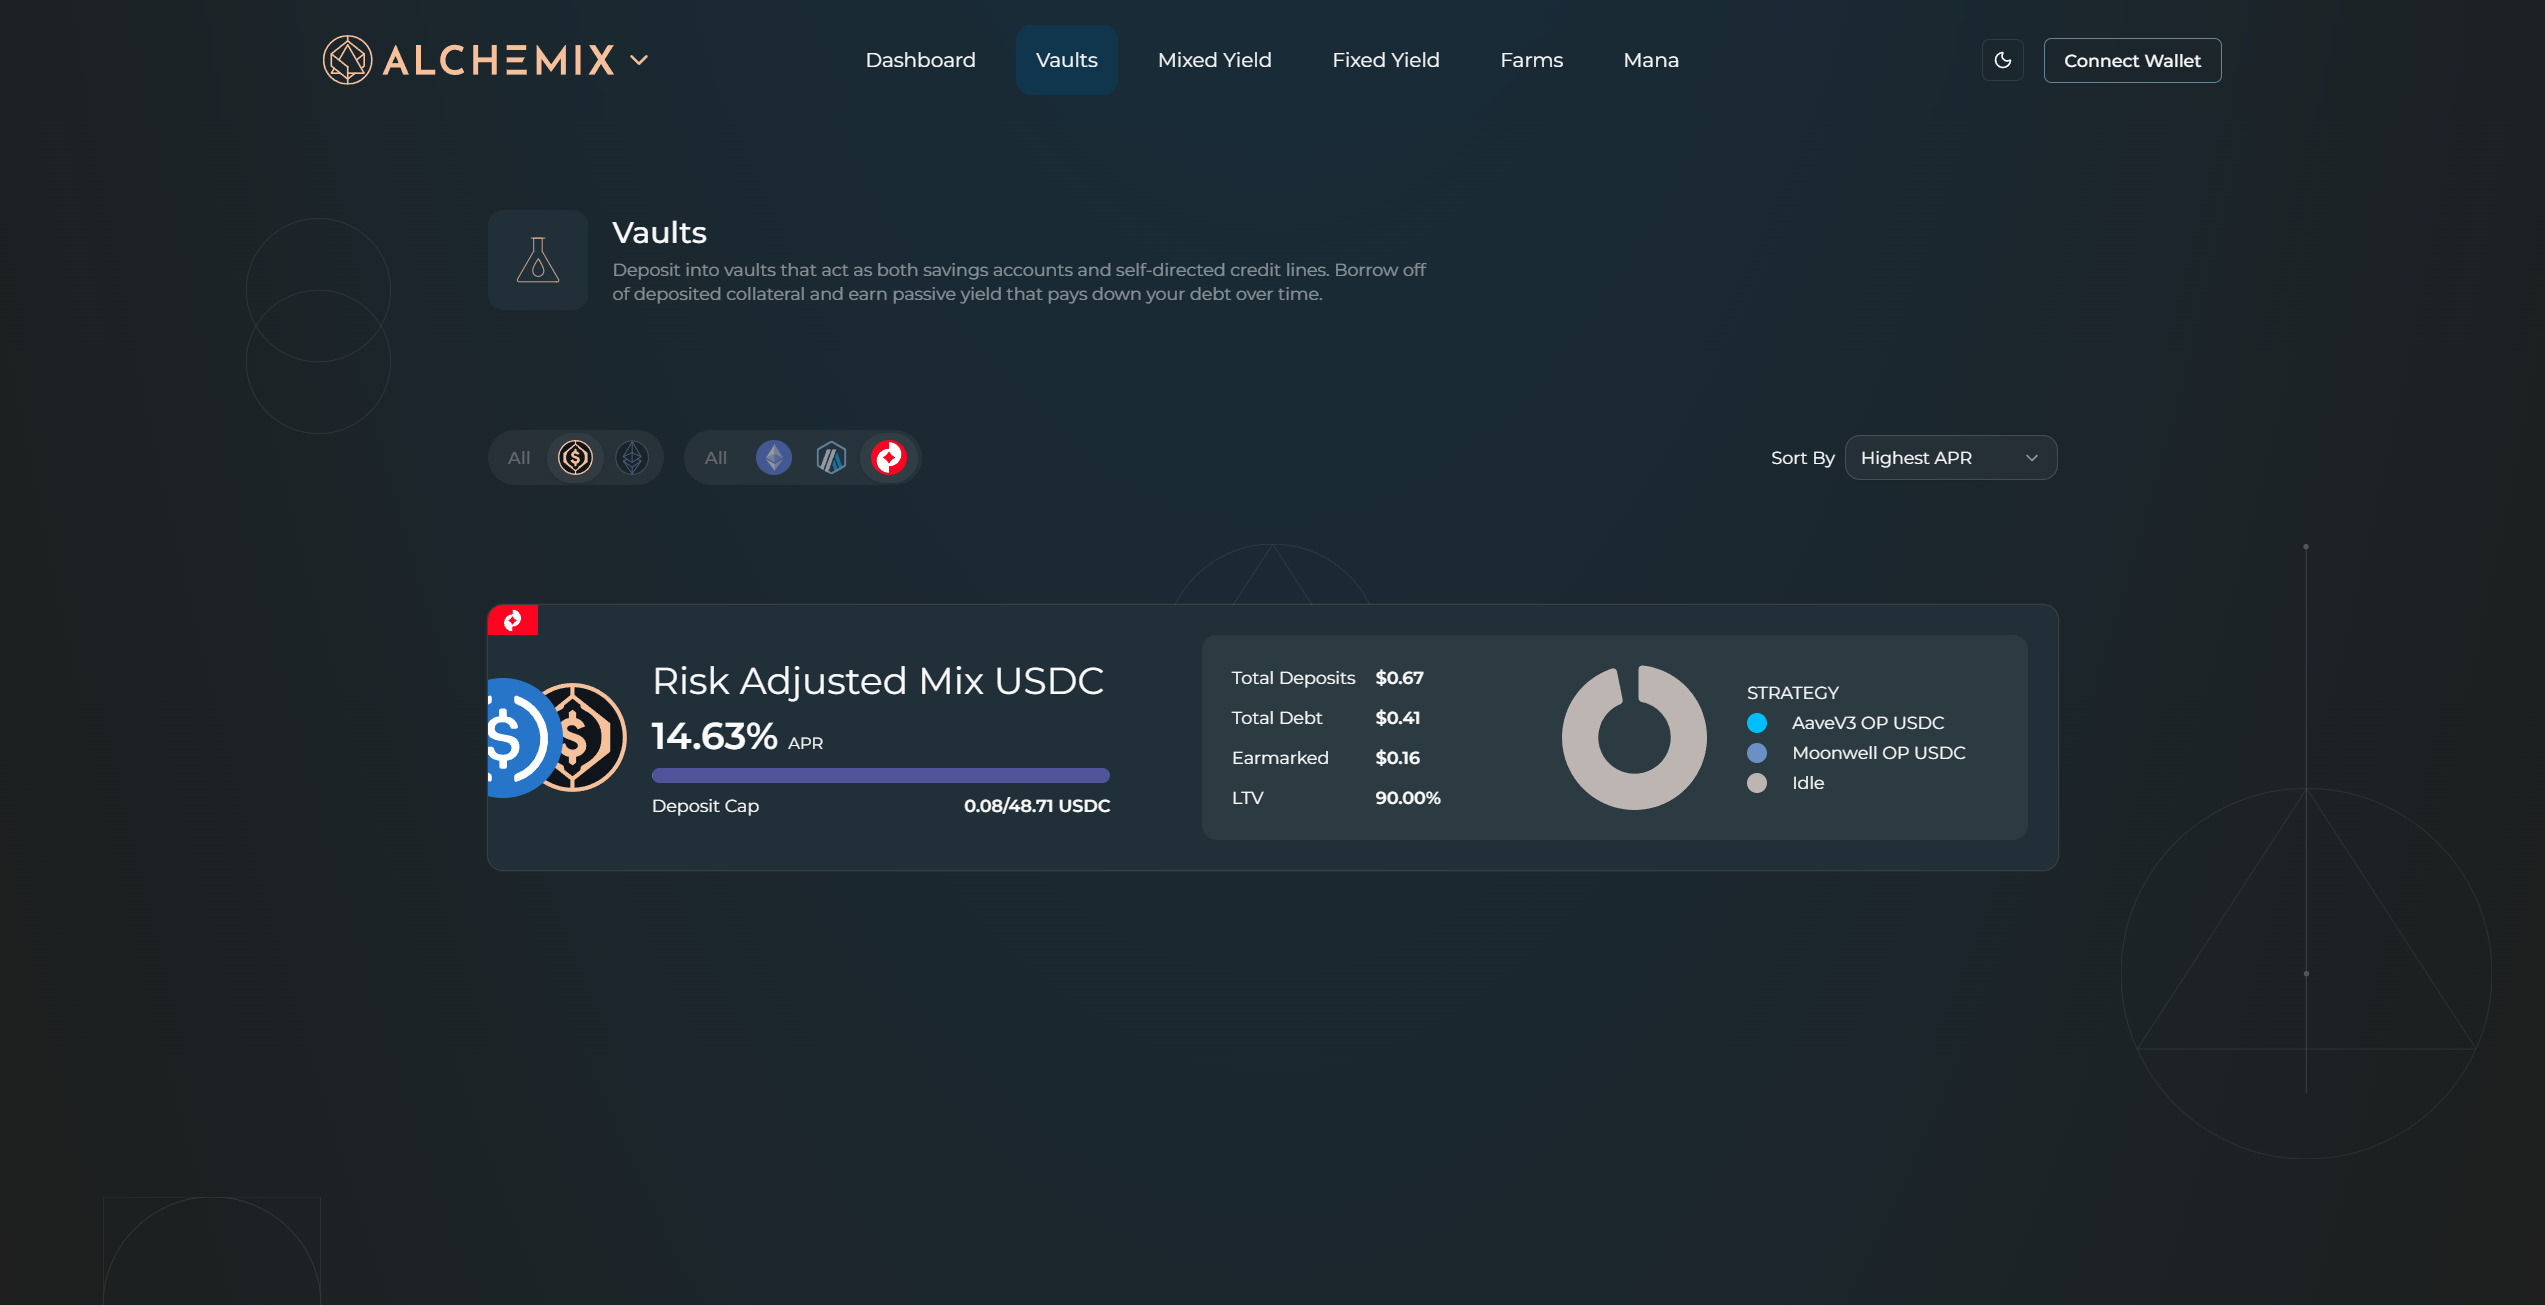
Use the asset filters (USDC or ETH) and chain filters to narrow the list. Sort by Highest APR to surface the best current rates. Click a vault card to open its detail page.
Step 3 – Review position stats
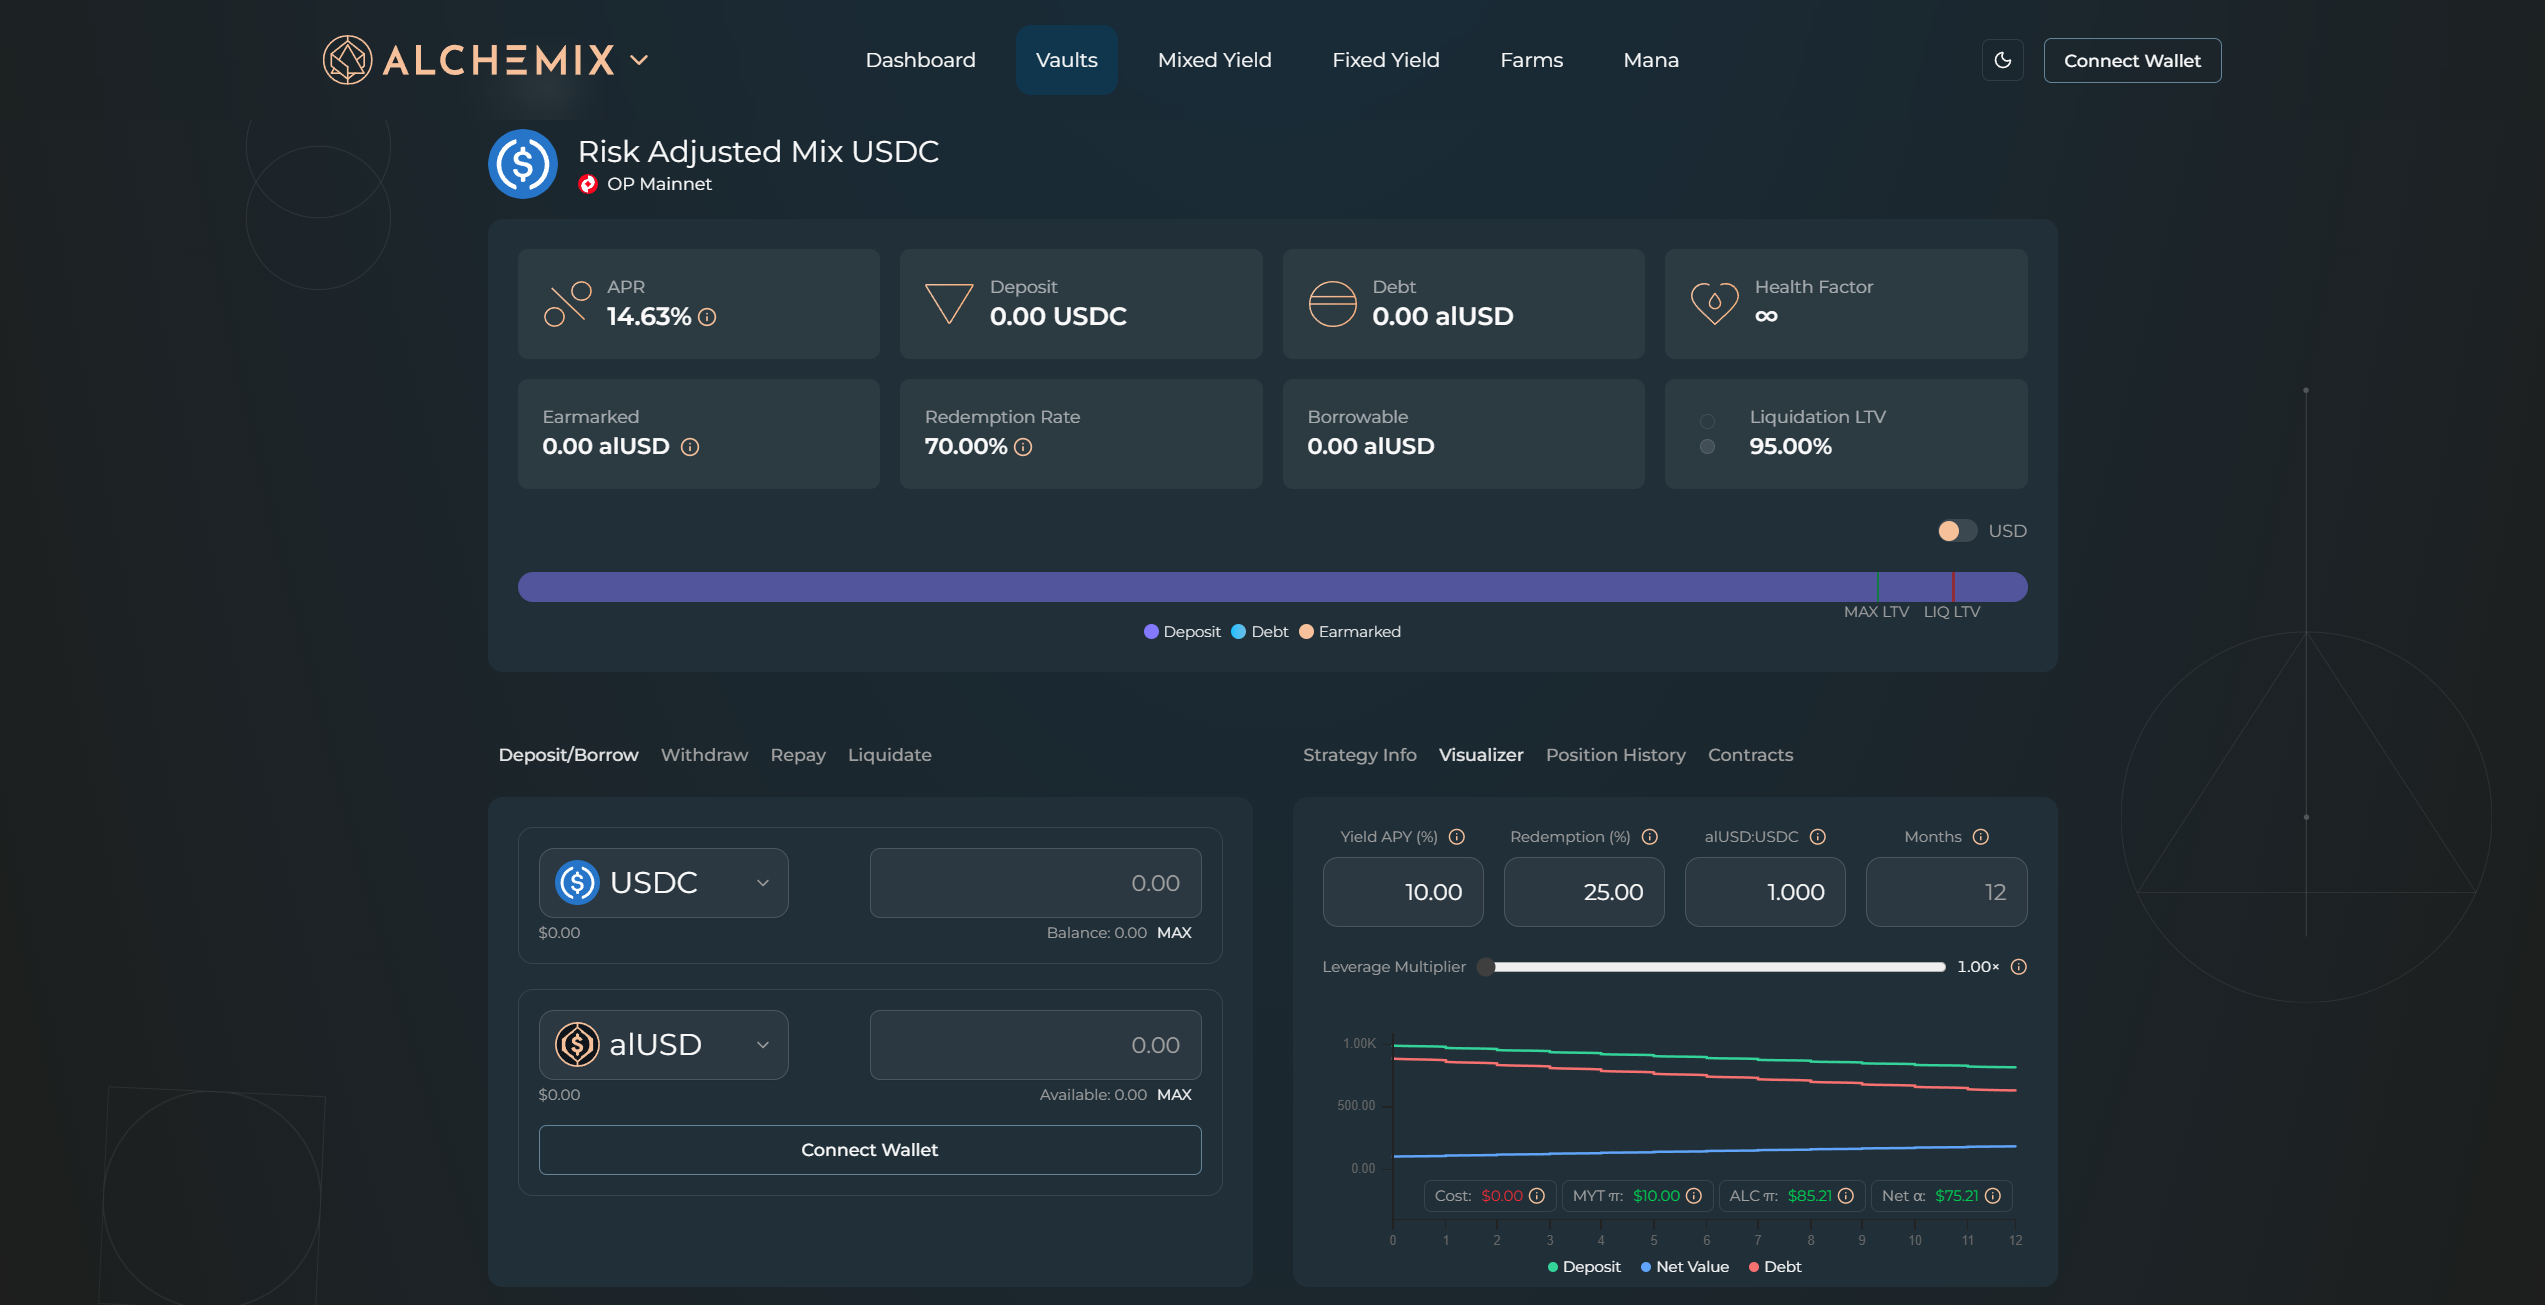
The top of the detail page shows your current position: APR, Deposit, Debt, Health Factor, Earmarked, Redemption Rate, Borrowable, and LTV. The health bar below shows your Deposit, Debt, and Earmarked values relative to the MAX LTV and liquidation LTV markers.
Alchemix does not use price-based liquidations. The liquidation risk here comes from a yield strategy losing value, which can reduce your collateral below the liquidation threshold. Keeping LTV low reduces your exposure to that scenario.
- Health Factor – watch this as you adjust your borrow amount. A lower Health Factor means less buffer against a strategy drawdown.
- LTV bar – shows your current position relative to the MAX LTV and liquidation markers. A strategy drawdown will affect higher LTV positions more.
- Strategy mix – check the Strategy Info tab on the right for the current allocation across strategies and their risk levels.
Step 4 – Enter a deposit amount
On the Deposit/Borrow tab, select your asset from the dropdown and type the deposit amount in the top input field.
Step 5 – Enter a borrow amount
Type the alAsset amount to borrow in the bottom input field. Leave it blank to deposit without borrowing.
Step 6 – Confirm
Click Deposit & Borrow. Both actions are submitted as a single transaction. Your wallet shows the network, gas estimate, and amounts. Approve the transaction.
Step 7 – Track your position
Your stats update once the transaction confirms. Use the Strategy Info tab for strategy allocation, the Visualizer tab to model future position states, and the Position History tab to review past activity.